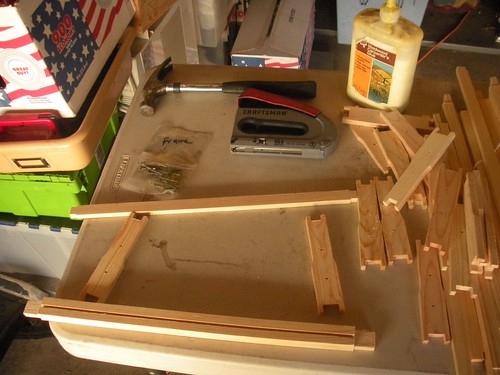
This is what an unassembled frame looks like and the tools you need to put it together. This is a very simple process. LA Honey Co supplies the proper size nails to keep the wood from splitting.
The first step is to glue the pieces together. Any decend wood glue should be fine. Mine is DAP which I have had for a very long time. If you are worried about the strenght, get Gorilla Glue. It has a good reputation and you will feel better.
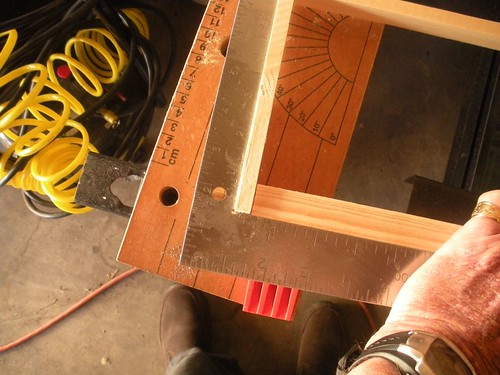
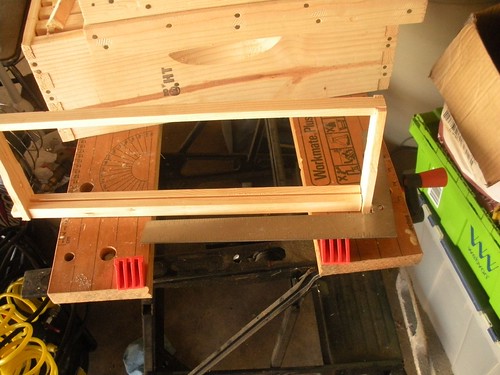
If you have one, use a t-square before stapling or nailng it together. Square frames will be much easier to take in and out of the hive.
At this point I staple all corners with a 1/2' staple. They seem to work but a little longer staple might be better. They will help keep the square shape while the nails are hammered in. Stapling is not requied but I prefer to use them.
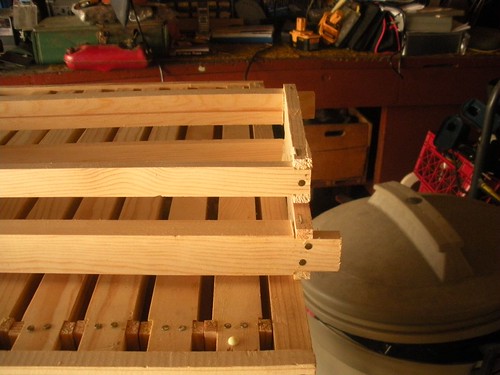
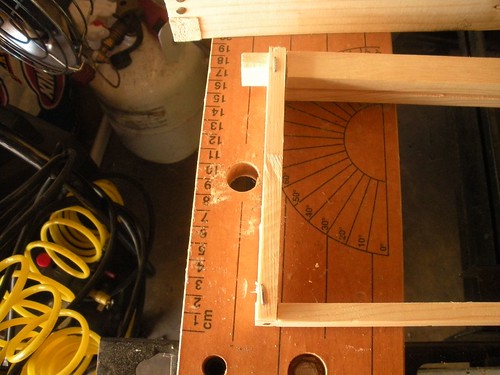
Nailing is straight forward. I have heard to use two nails on the top and one on the bottom and also heard the opposite. It depends on the wood pieces. In the case of LAHCO frames, the upper piece is wider and stronger, it will hold two nails better than the bottom piece.
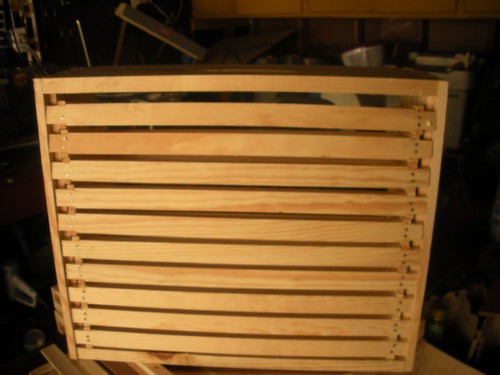
Everything is place. Since I will not use foundations, the next step will be inserting the starter strips and adding wax to the strips. When did my first hive I used a 2" paint bruch and slathered wax all over the place. On the Linda's Bee site she usesa tool that lays a small delicate line of wax on both sides. I have no clue which is best, wide or narrow wax application but her method does use less wax. You still have to buy the wax application device. or use a clean brush.
Still waiting for bees, they are in the pipeline.
My hives are from LA Honey Co and may be slightly different than what you have but the general principles should apply. At this time I do not plan on painting them
I hope this has been helpful
1 comment:
Veery creative post
Post a Comment