I have a lifetime of tools and use them but you can do this with just a hammer.
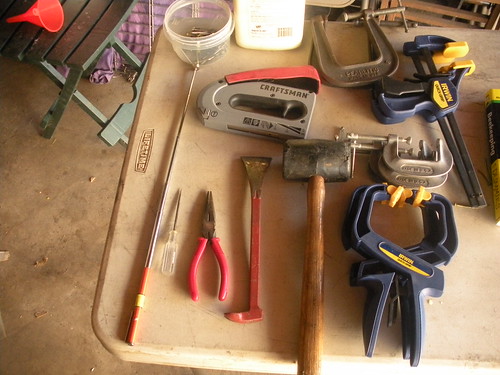
The tools.. little thing on the left is a magnet to pick up all the nails I drop, very handy for Senior knees. The next three are used straighten and remove bent nails (that will happen). Rubber hammer to pound the hive box ends tight before nailing. Lots of clamps, stapler and glue. A bigger hammer will drive nails better.
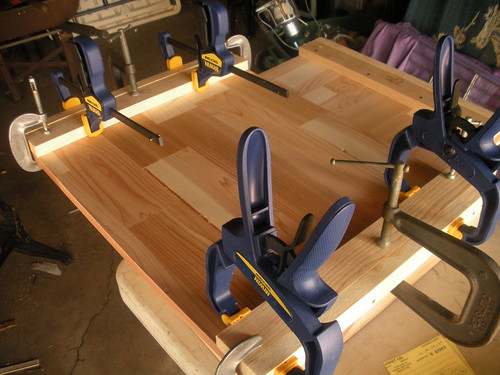
The clamps are used to hold that extra piece on the base of the top and bottom units when they are glued before they are nailed.
Nails....LAHCO supplies a bag for each unit, check them closely some have a couple different sizes..small nails for thin areas and bigger nails for thicker areas.
Top and bottom units look like this with a bracing board on the under side. The bottom unit has an L-shaped piece used for the porch/landing area
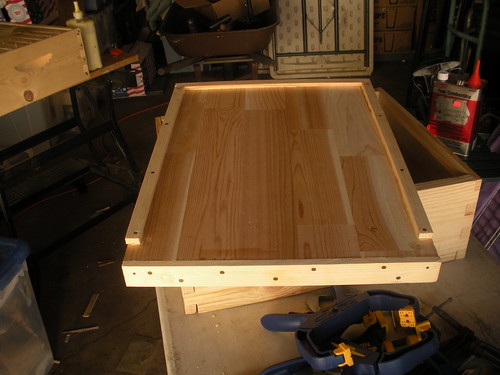
Bottom unit with the short lip on the front and side strips added.

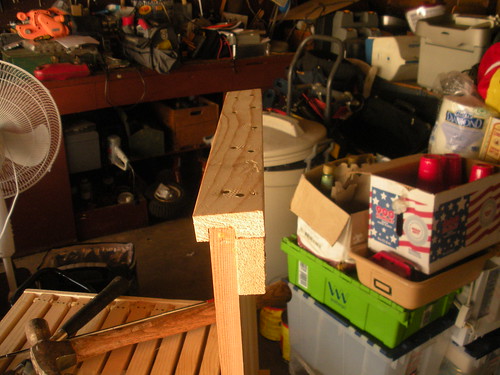
Why a stapler is handy. I used 1/2" staples. Hive wood is not top quality and splits may happen or nails may not drive straight down.
Remove any nails that protrude. You do not want to have the points exposed when you are trying to remove a frame full of bees and honey. Sooner or later one of the nails will get you if you leave them.

This shows where the little wood strips go. Use the rubbber hammer to square the ends before you nail them. Use as many nails as you wish, there does seem to be more than you need. The small nails are around the lip area at the top and the strips if you do not staple
That is about all you need for the hive box , top and bottom.
I am off to a vintage trailer this weekend so the frames will have to wait until I get back.
2 comments:
thanks Dennis for creating these instructional pages!! I was a bit unsure on how to assemble the top & bottom boards -- then I found & followed your examples and they turned out great! Thanks again!!!
-warren
highland park, los angeles
I am happy they helped you. When I got mine there were no instructions and it was not hard to figure out but I did mess up the brace boards under the bottom board.
Post a Comment