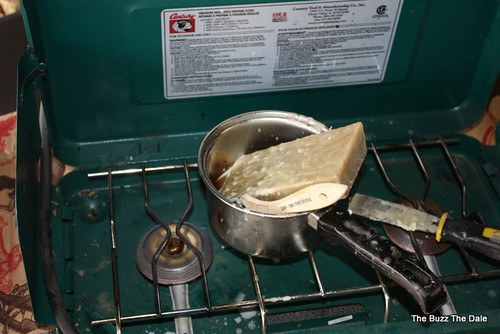
Do not over heat the melting wax. Bees wax is flammable and you can end up with a flash fire.
For my first starter strips I used the standard paint stir sticks from Home Depot but I felt bad about getting them that way and I needed a lot of them for each set of frames. So instead of being a sneak thief I have moved on to making my own wax strips. The stir sticks above are not the standard small stirrers. These are the larger ones and a couple will be all you need. I also use a cheap paint brush about the same width as the stirs. Don't waste money on an expensive paint brush. What ever wood you use, soak it in water for a while before starting and that will make the wax removal easier.


In the middle of things one bee came by to check out the source of the good smells, melting wax does have a honey smell to it. I was surprised more of them did not stop by. My hives are on the back wall of the garage where I was working. (The mouse traps have not been used lately, my dogs take care of those issues)
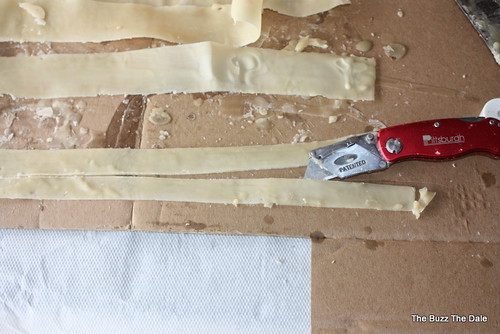

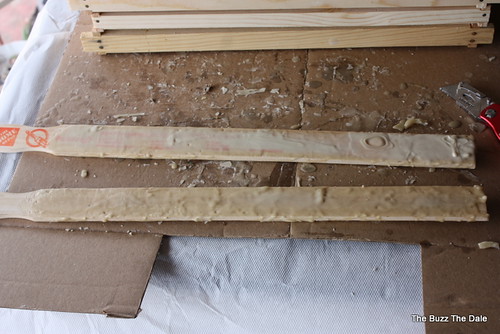
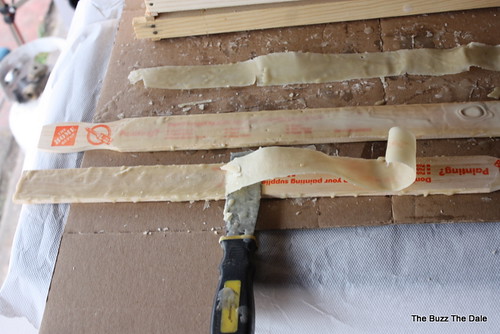
Once you have the wax strips off the wood, cut it in half. If you can cut it smaller you will have more strips with less work but two's work for me. The extra bits can be use to fill in short strips. I like to have the wax strips to run the entire length of the frame channel if possible. Starting with two stir sticks and utilizing both sides you will end up with eight wax strips each time, almost enough for one super. Over time the stir sticks may get ragged from the putty knife, replace them. Any wood that is not treated will suffice, you do not have to use the stir sticks, just remember to wet it before applying the wax.
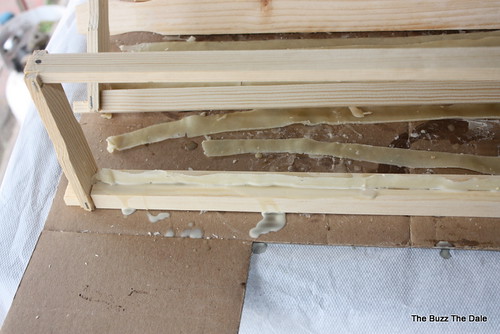

Ten frames all done in short order. You can see where I filled in this one with a bit of extra wax strip. Just make it fit and seal it in. After the frames are done, check them later. Occasionally the wax will not be sealed in well and can drop down. A little melted wax will fix it quickly.
Use clean wax if you can. Remember the melting wax can catch fire so keep an eye on it. Wet the wood first. Do not melt the wax in the kitchen. Follow those rules and you will be on your way and have happier bees.
Use clean wax if you can. Remember the melting wax can catch fire so keep an eye on it. Wet the wood first. Do not melt the wax in the kitchen. Follow those rules and you will be on your way and have happier bees.
No comments:
Post a Comment