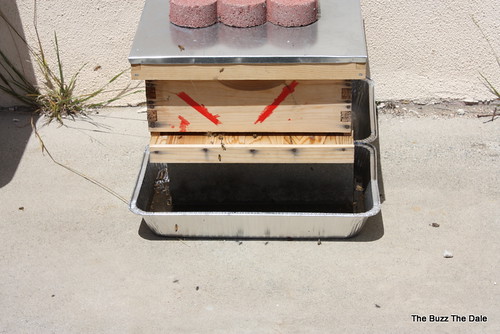
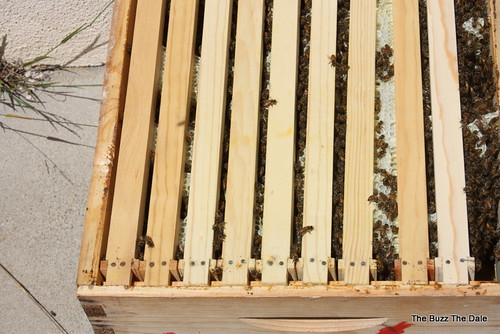
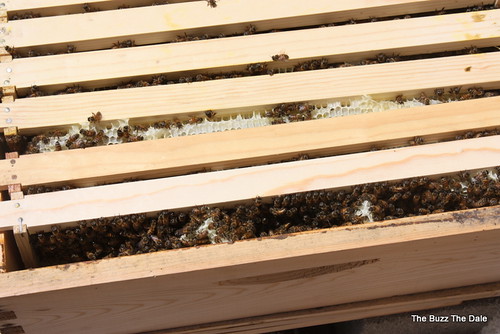
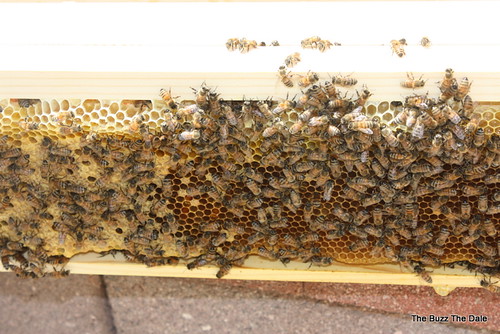
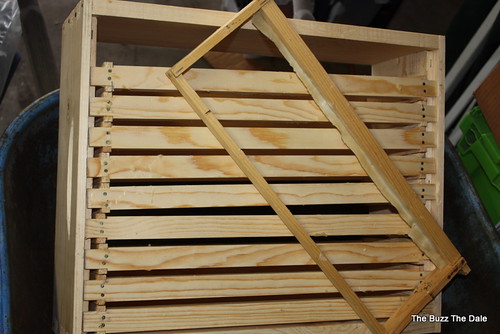
There are netbots or something similar that check the blogs and send out missives if a blog is updated. For some reason my latest blog with the bee egg pictures is not showing on three different sites that normally list new posts.
I have spent hours the last couple of days attempting to get that post to show up, all to no avail. Maybe a new post will show up, that is what this is about. I will include another picture of Tricia's bees since I am here but the best pictures are in the earlier post. I have moved on to the latest Blogger editor, maybe that will help.
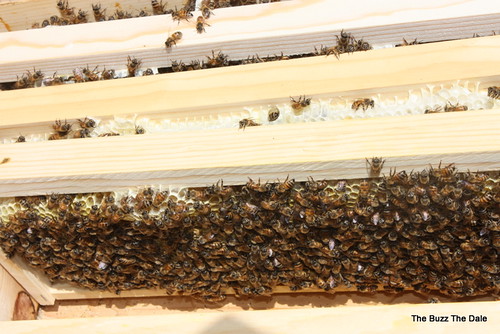
We did need a shot of some bees too. If this "bump" does not work, this post will go away.
The main intent is to get the pictures of the bee eggs noted.
This is home of The Bees In The Dale and novice beekeeping tales along the Backwards and truly Organic Way. The bees are feral bees collected from wild swarms. Bees do it all alone, no help from me, no drugs, no meds, no treatments by humans, just shelter and water.
Friday, May 28, 2010
Tuesday, May 25, 2010
Bee Eggs
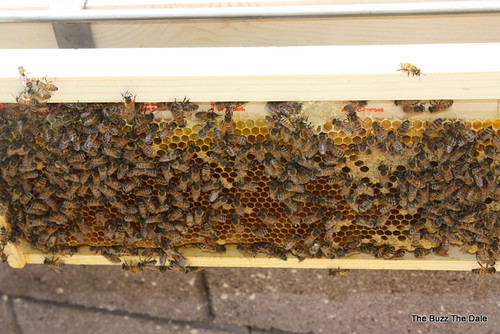
Most of the cells above and along side the bees have larvae. The eggs are in the lower cells. The Queen tends to work in a circle pattern working towards the outside which is probably the reason for the location of the eggs and larvae.
Saturday, April 24, 2010
A Time To Expand.

These are the Playa Vista bees, a swarm I captured off an apartment balcony on March 29, '10.
They stayed in a cardboard nuc until I moved them into this medium super on April 10. The weather has been spotty but nice enough most of the time. In two weeks they filled the original nuc so two weeks later I guessed this super would be full. I had the super with the new wax strips added and it was ready for occupation.

I was right, it was well filled, including the extra space on the right side of the super. When I moved them over from the cardboard nuc they had over filled the space between the last frame and the side of the nuc. Instead of destroying their work I left it that way and put only nine frames in. They have really filled that space now.
This was the gap where I removed the two frames, everyone seemed happy.

All closed up and receiving the foragers. I love this hive, these bees did not make any kind of aggressive move while I was working them. They have been this way since i first me them. I had the smoker but it went out and I never even used it. Life in the Apiary would be much nicer for me if the Twitchy Bees assumed this kind of attitude. I need to get a couple more supers, the Twitchy Bees hive is now four supers tall and they way they work that will be filled shortly. I might as well have a couple extras standing by for this hive too. They work very hard but do not seem to be a many in number as the Twitchy Bees. It would be a hard call to make if I had to decide between nice bees that make a good amount of honey or the Twitchy Bees that do not seem to like me and make a lot of honey. I hope the Twitchy Bees make a new queen sometime and call up the drones from next door. Is this supposed to be about the bees or the honey or my comfort???
Making Wax Starter Strips
Making wax starter strips for your frames sounds daunting but it is fairly easy to do. A couple words of caution, you do not want to do this in the kitchen. I speak from experience. Tap the hot wax pot at the wrong time and you can end up with wax all over the place . It is easy to clean some spots but terrible to do on the linoleum floor. The wax will harden before you can wipe it up and then can be almost transparent and hard to find. All the little wax drops will collect dust and dirt leaving you with a speckled floor until until you get it up, one drop at a time. Trust me, do this outside.
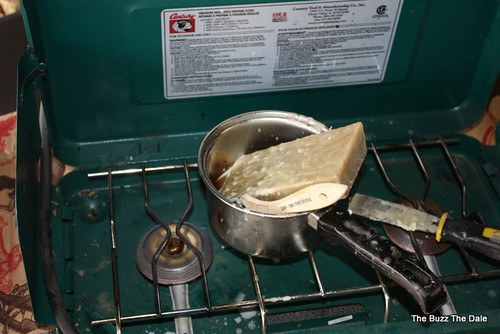
I use an old camp stove. Since I have not been doing this long I do not have a supply of comb to melt down. I get a one pound block from LA Honey Co. If they offer brown or white wax, take the cheaper one, the bees won't care. In a pinch you can use bees wax candles but with all wax from other sources you can not be sure it is clean of contaminants but you have to use what you can get.
Do not over heat the melting wax. Bees wax is flammable and you can end up with a flash fire.

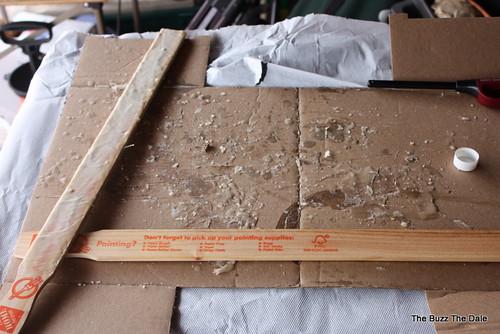
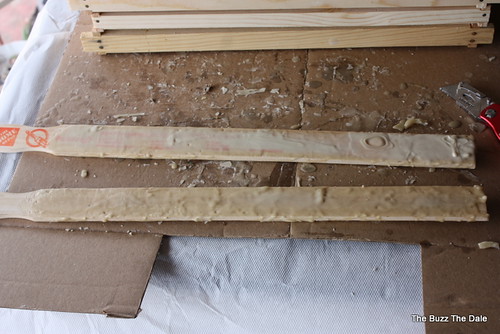
You will want to keep the work area covered. You will have many wax drops about the place and this way you can recover some of them also. I use two stir sticks at a time, painting the wax on both sides of each one. You will learn through practice how thick the wax needs to be. You can always re-melt your mistakes.
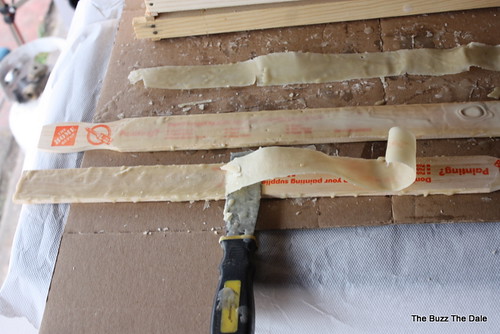
Once you have both sticks waxed you can use a putty knife to peal them off. Don't worry if they curl or bend, the wax will be very pliable when you use it.


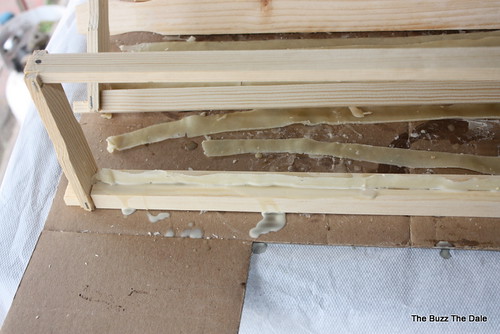
Insert the wax into the channel on the top board of the frame, then dribble hot wax the length of the strip. That will help seal the wood and bond the wax into the channel. I scrap off any extra blobs of wax but leave most of the clean up to the bees.

I use an old camp stove. Since I have not been doing this long I do not have a supply of comb to melt down. I get a one pound block from LA Honey Co. If they offer brown or white wax, take the cheaper one, the bees won't care. In a pinch you can use bees wax candles but with all wax from other sources you can not be sure it is clean of contaminants but you have to use what you can get.
Do not over heat the melting wax. Bees wax is flammable and you can end up with a flash fire.

For my first starter strips I used the standard paint stir sticks from Home Depot but I felt bad about getting them that way and I needed a lot of them for each set of frames. So instead of being a sneak thief I have moved on to making my own wax strips. The stir sticks above are not the standard small stirrers. These are the larger ones and a couple will be all you need. I also use a cheap paint brush about the same width as the stirs. Don't waste money on an expensive paint brush. What ever wood you use, soak it in water for a while before starting and that will make the wax removal easier.
Once you have both sticks waxed you can use a putty knife to peal them off. Don't worry if they curl or bend, the wax will be very pliable when you use it.

In the middle of things one bee came by to check out the source of the good smells, melting wax does have a honey smell to it. I was surprised more of them did not stop by. My hives are on the back wall of the garage where I was working. (The mouse traps have not been used lately, my dogs take care of those issues)

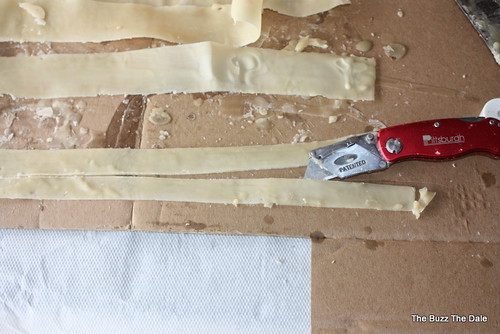
Once you have the wax strips off the wood, cut it in half. If you can cut it smaller you will have more strips with less work but two's work for me. The extra bits can be use to fill in short strips. I like to have the wax strips to run the entire length of the frame channel if possible. Starting with two stir sticks and utilizing both sides you will end up with eight wax strips each time, almost enough for one super. Over time the stir sticks may get ragged from the putty knife, replace them. Any wood that is not treated will suffice, you do not have to use the stir sticks, just remember to wet it before applying the wax.

Ten frames all done in short order. You can see where I filled in this one with a bit of extra wax strip. Just make it fit and seal it in. After the frames are done, check them later. Occasionally the wax will not be sealed in well and can drop down. A little melted wax will fix it quickly.
Use clean wax if you can. Remember the melting wax can catch fire so keep an eye on it. Wet the wood first. Do not melt the wax in the kitchen. Follow those rules and you will be on your way and have happier bees.
Labels:
wax starter strips
Subscribe to:
Posts (Atom)